Stargazing is one of the most rewarding hobbies, offering a direct connection to the vastness of the universe. Whether you’re gazing at the craters on the Moon, the rings of Saturn, or distant galaxies, each night brings a new adventure.
However, to make the most of your stargazing sessions, it's essential to know how to use your telescope effectively. This guide will provide you with practical tips to enhance your observing experience, ensuring that you get the best possible views of the night sky.
Setting Up Your Telescope
The first step in any successful stargazing session is setting up your telescope correctly. Proper setup not only makes it easier to find celestial objects but also ensures that your viewing experience is as stable and clear as possible.
Choose the Right Location: Location is crucial when it comes to stargazing. To get the clearest views, you’ll want to set up your telescope in a place with minimal light pollution. This means getting away from city lights and finding a dark, open space where the night sky is unobstructed. Parks, rural areas, or even your backyard (if you’re fortunate enough to live in a dark area) can be ideal spots. The darker the sky, the more celestial objects you’ll be able to see, and the better your overall experience will be.
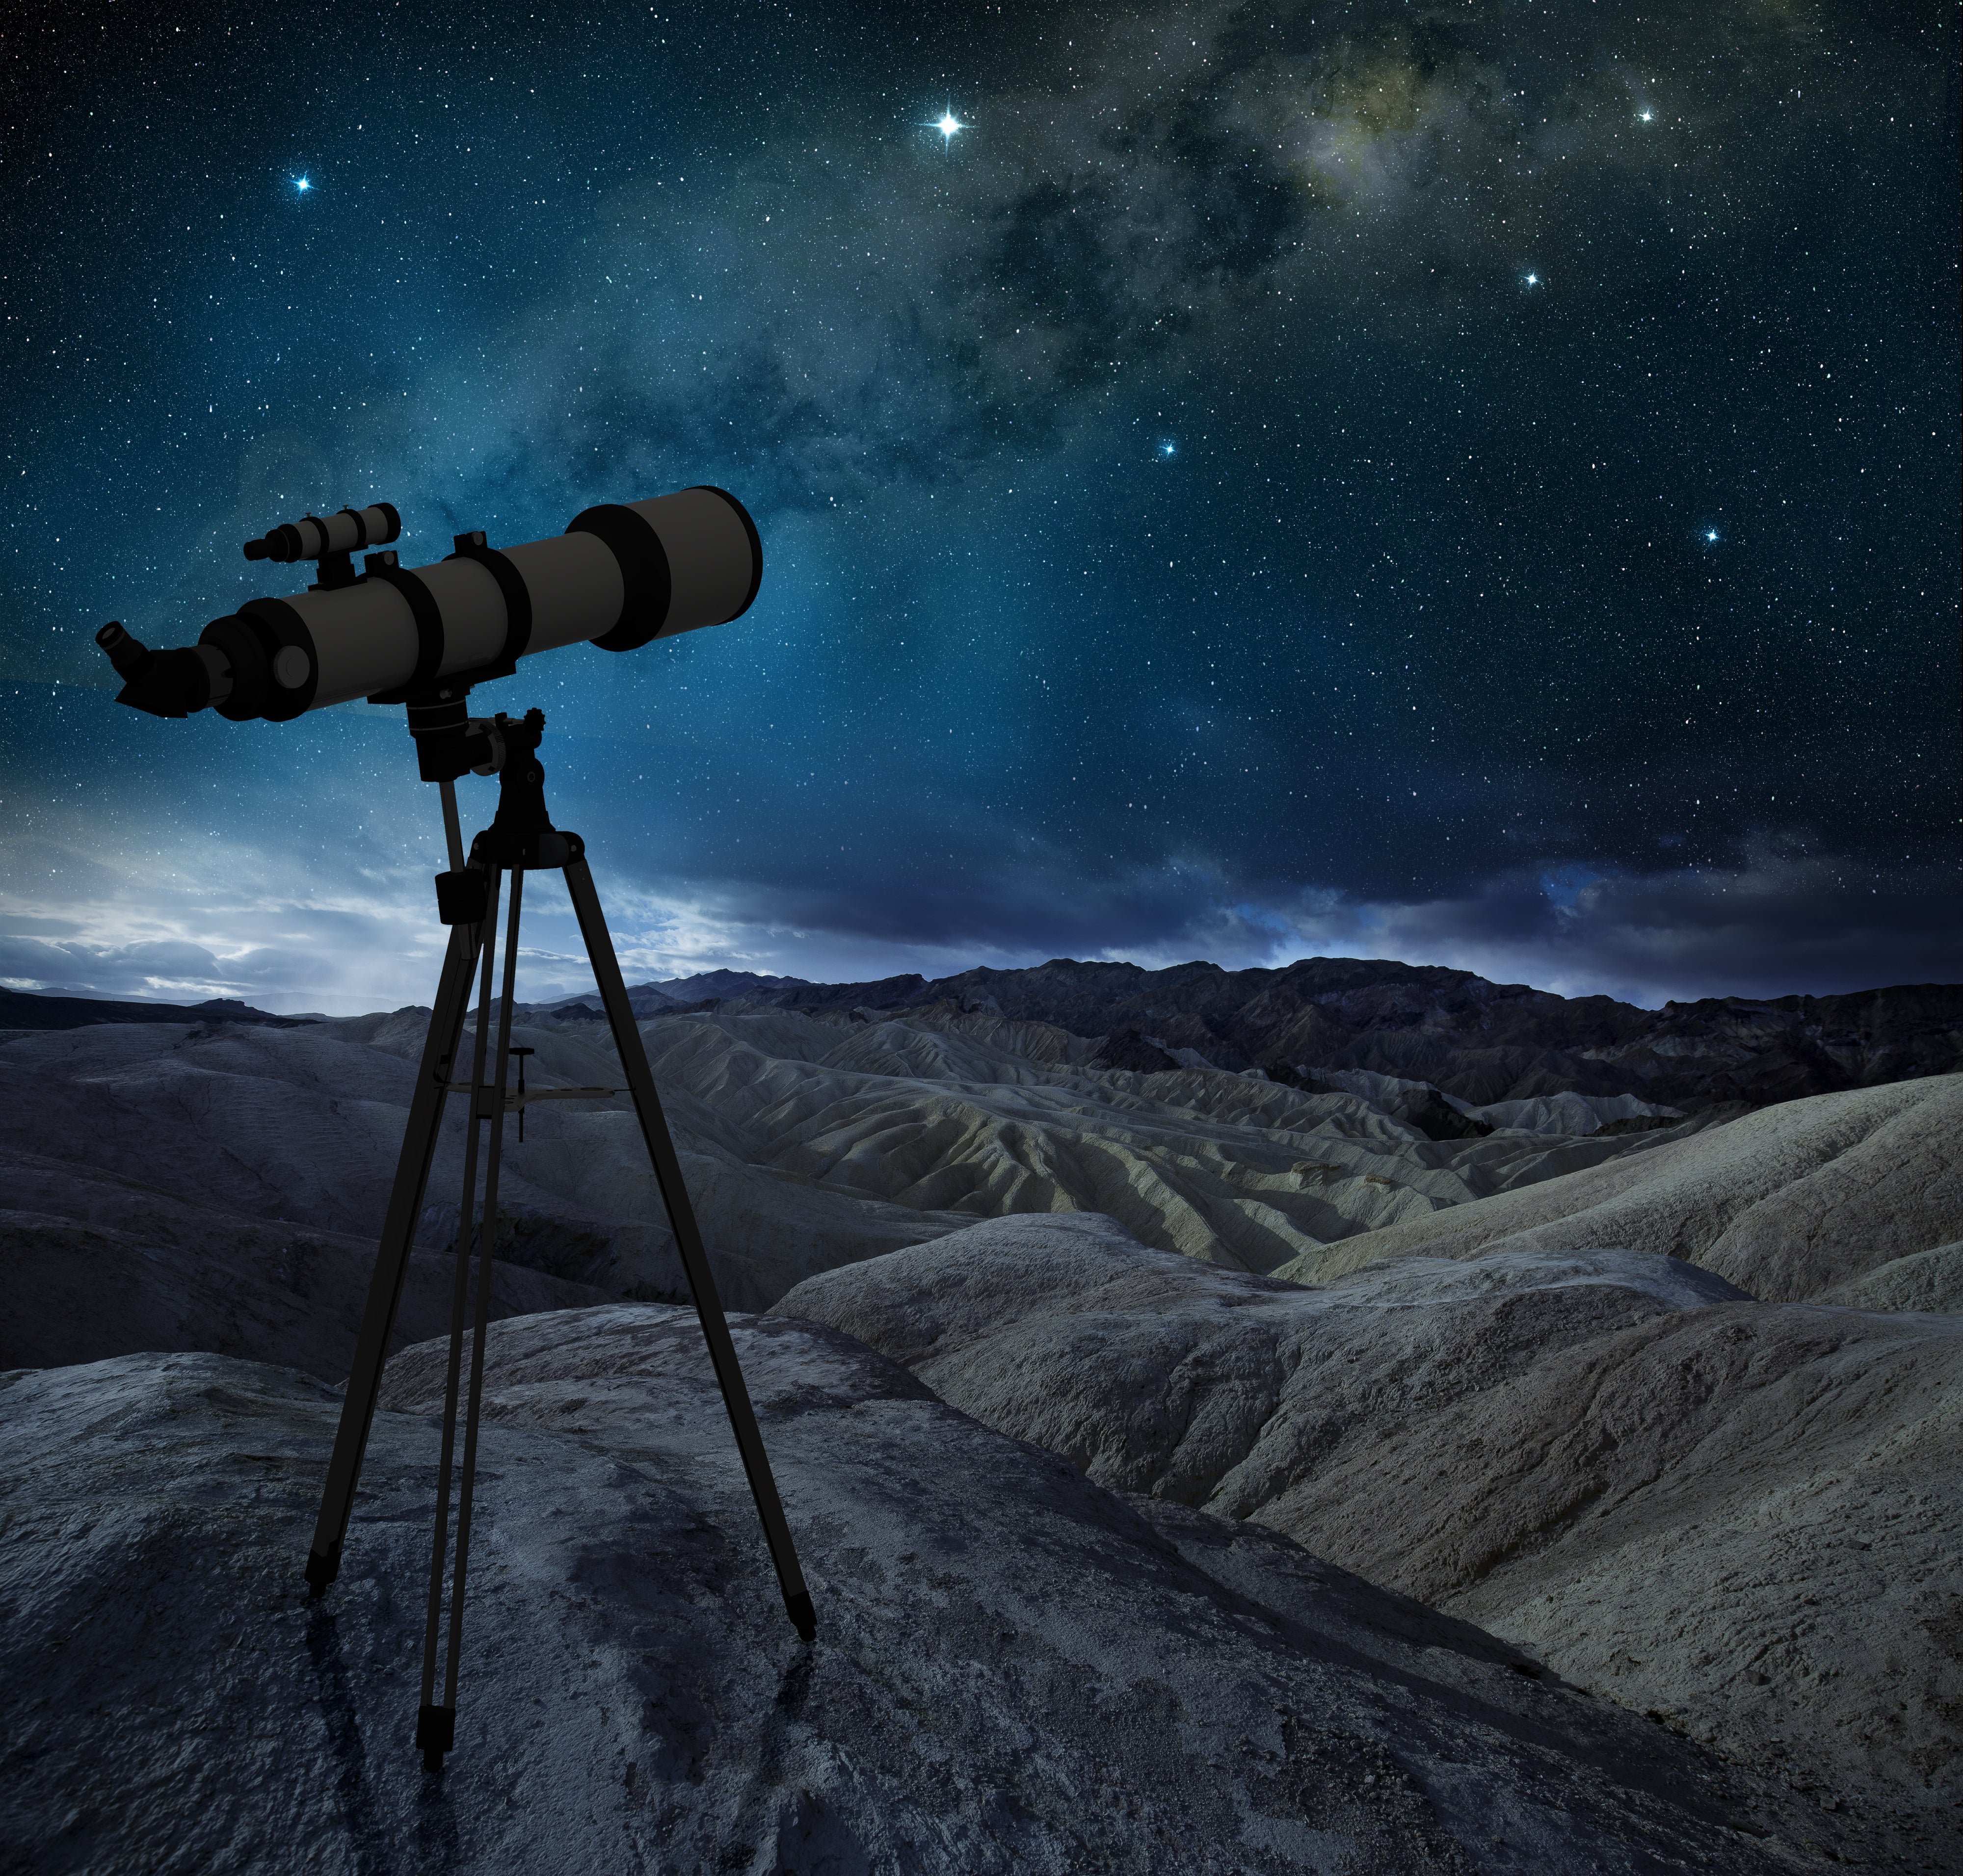
Stable Setup: Once you’ve found the perfect location, it’s time to set up your telescope. Stability is key here—nothing ruins a stargazing session faster than a wobbly setup. Make sure your telescope is on a stable, flat surface. If you’re using a tripod, ensure that it’s fully extended and locked into place. A sturdy, well-balanced tripod will minimize vibrations and provide you with a clear, steady view.
Additionally, it's important to let your telescope acclimate to the outdoor temperature. Telescopes, especially those with large mirrors or lenses, need time to adjust to the cooler night air. This process, known as "cooling down," can take anywhere from 20 minutes to an hour. Allowing your telescope to reach thermal equilibrium helps prevent distortion in your images caused by heat radiating from the optics.
Aligning Your Telescope: Proper alignment is essential for accurate tracking and viewing of celestial objects. If your telescope has an equatorial mount, you’ll need to align it with Polaris, the North Star. Polaris is almost directly above the North Pole, making it a reliable point of reference for stargazers in the Northern Hemisphere. To find Polaris, look for the Big Dipper constellation, which points directly to it.
For telescopes with an altazimuth mount, alignment is simpler. Start by setting up your telescope so that the mount is level. Then, point your telescope towards a bright object, such as the Moon or a planet, and use the finder scope to center the object in the eyepiece.
If your telescope is computerized or has a GoTo mount, follow the manufacturer’s instructions for alignment. These systems often require you to align with two or three bright stars. Once aligned, your telescope will automatically track celestial objects as they move across the sky, making it easier to locate and observe them.
Understanding Sky Objects
Knowing what to look for in the night sky is just as important as setting up your telescope. The night sky is filled with a vast array of celestial objects, each offering a unique viewing experience.
Planets and the Moon: The planets and the Moon are some of the most accessible and rewarding objects for beginners. The Moon, with its craters, mountains, and seas, is a breathtaking sight even with a small telescope. Each phase of the Moon offers a different perspective, so it’s worth observing it multiple times throughout the month.
The planets, too, are fascinating to observe. Venus, with its bright phases, Jupiter, with its bands and moons, and Saturn, with its iconic rings, are all easily visible with most beginner telescopes. Mars, with its red hue and occasional dust storms, and Mercury, which can be challenging to observe due to its proximity to the Sun, also offer unique sights.
Stars and Constellations: Beyond the planets, the night sky is filled with countless stars and constellations. Constellations are groups of stars that form recognizable patterns, and they have been used for navigation and storytelling for centuries. Learning to recognize constellations like Orion, Ursa Major, and Cassiopeia can help you navigate the night sky more effectively.
When observing stars, pay attention to their color and brightness. Stars like Betelgeuse (a red supergiant) and Rigel (a blue supergiant) offer stunning contrasts in color. Double stars, such as Albireo in the constellation Cygnus, are also fascinating to observe, as they often consist of two stars with contrasting colors.
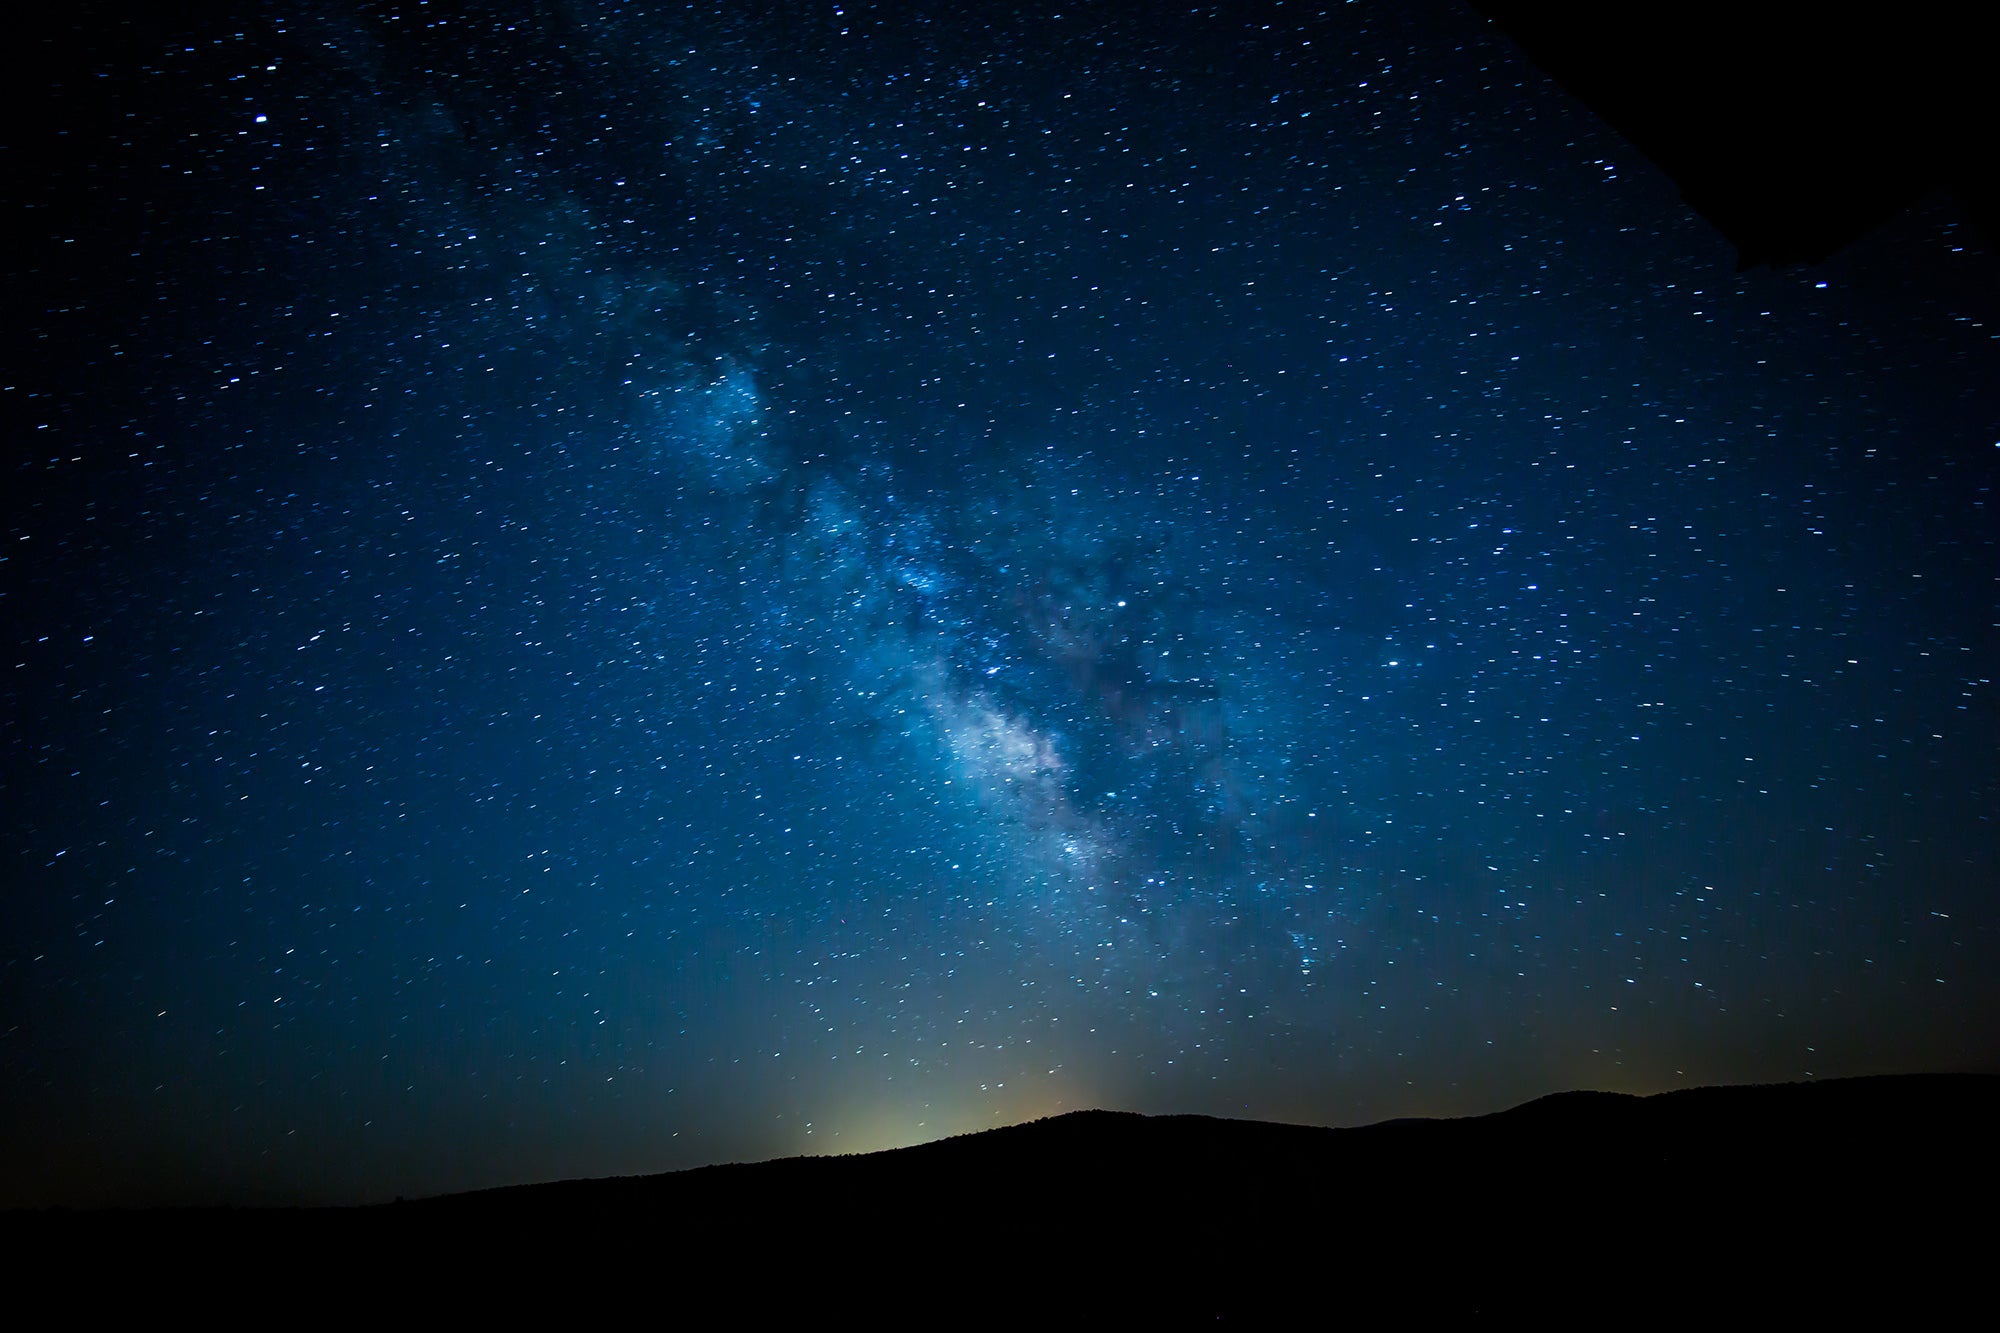
Deep-Sky Objects: For those looking to go beyond the basics, deep-sky objects offer a more challenging and rewarding experience. These objects include galaxies, nebulae, star clusters, and more. The Andromeda Galaxy, the Orion Nebula, and the Pleiades star cluster are some of the most famous deep-sky objects visible to amateur astronomers.
Deep-sky objects are often faint and require a telescope with a larger aperture to observe clearly. Light pollution can also make it difficult to see these objects, so it’s important to find a dark location away from city lights. Using a star map or an astronomy app can help you locate these objects and plan your observing sessions.
Best Practices for Observing
Once you’ve set up your telescope and identified your targets, it’s time to start observing. Here are some best practices to ensure you get the most out of your stargazing sessions.
Focusing Your Telescope: Proper focusing is essential for clear, sharp images. Start by using the lowest magnification eyepiece (the one with the highest number, such as 25mm) to locate your target. Once the object is centered, slowly adjust the focus until the image is as sharp as possible. If you’re having trouble achieving a sharp focus, try using a focusing mask or adjusting the collimation of your telescope.
Avoiding Light Pollution: Light pollution can significantly impact your ability to see faint objects in the night sky. To minimize its effects, choose a location far from city lights, and avoid using bright lights near your observing area. If you need a light to read star maps or adjust your equipment, use a red flashlight, as red light has the least impact on your night vision.
Adjusting for Weather Conditions: Weather conditions can greatly affect your stargazing experience. Clear skies are ideal, but even on clear nights, humidity, wind, and temperature changes can impact the quality of your observations. Check the weather forecast before heading out, and be prepared to adapt to changing conditions. For example, if the air is humid, you may need to use a dew shield to prevent moisture from forming on your telescope’s optics.
Common Mistakes to Avoid
As with any hobby, beginners often make mistakes when they first start using a telescope. Here are some common pitfalls to avoid.
Over-Magnification: One of the most common mistakes beginners make is using too much magnification. While it might seem like more magnification would provide a better view, it often results in a blurry, shaky image. Start with a low magnification eyepiece and gradually increase it as needed. Remember, the best views are often achieved with moderate magnification.
Not Allowing the Telescope to Acclimate: As mentioned earlier, it’s important to let your telescope acclimate to the outdoor temperature. Skipping this step can result in distorted images due to heat radiating from the optics. Give your telescope time to cool down before starting your observing session.
Conclusion
Stargazing is a hobby that offers endless opportunities for discovery and wonder. By following these tips, you can ensure that your stargazing sessions are as enjoyable and rewarding as possible. Whether you’re observing the Moon, planets, stars, or deep-sky objects, the night sky has something to offer for everyone. So, set up your telescope, take your time, and enjoy the journey through the cosmos.
Share:
Astrophotography 101: How to Capture Stunning Images of the Cosmos
How to Choose the Best Telescope for Beginners: A Complete Guide