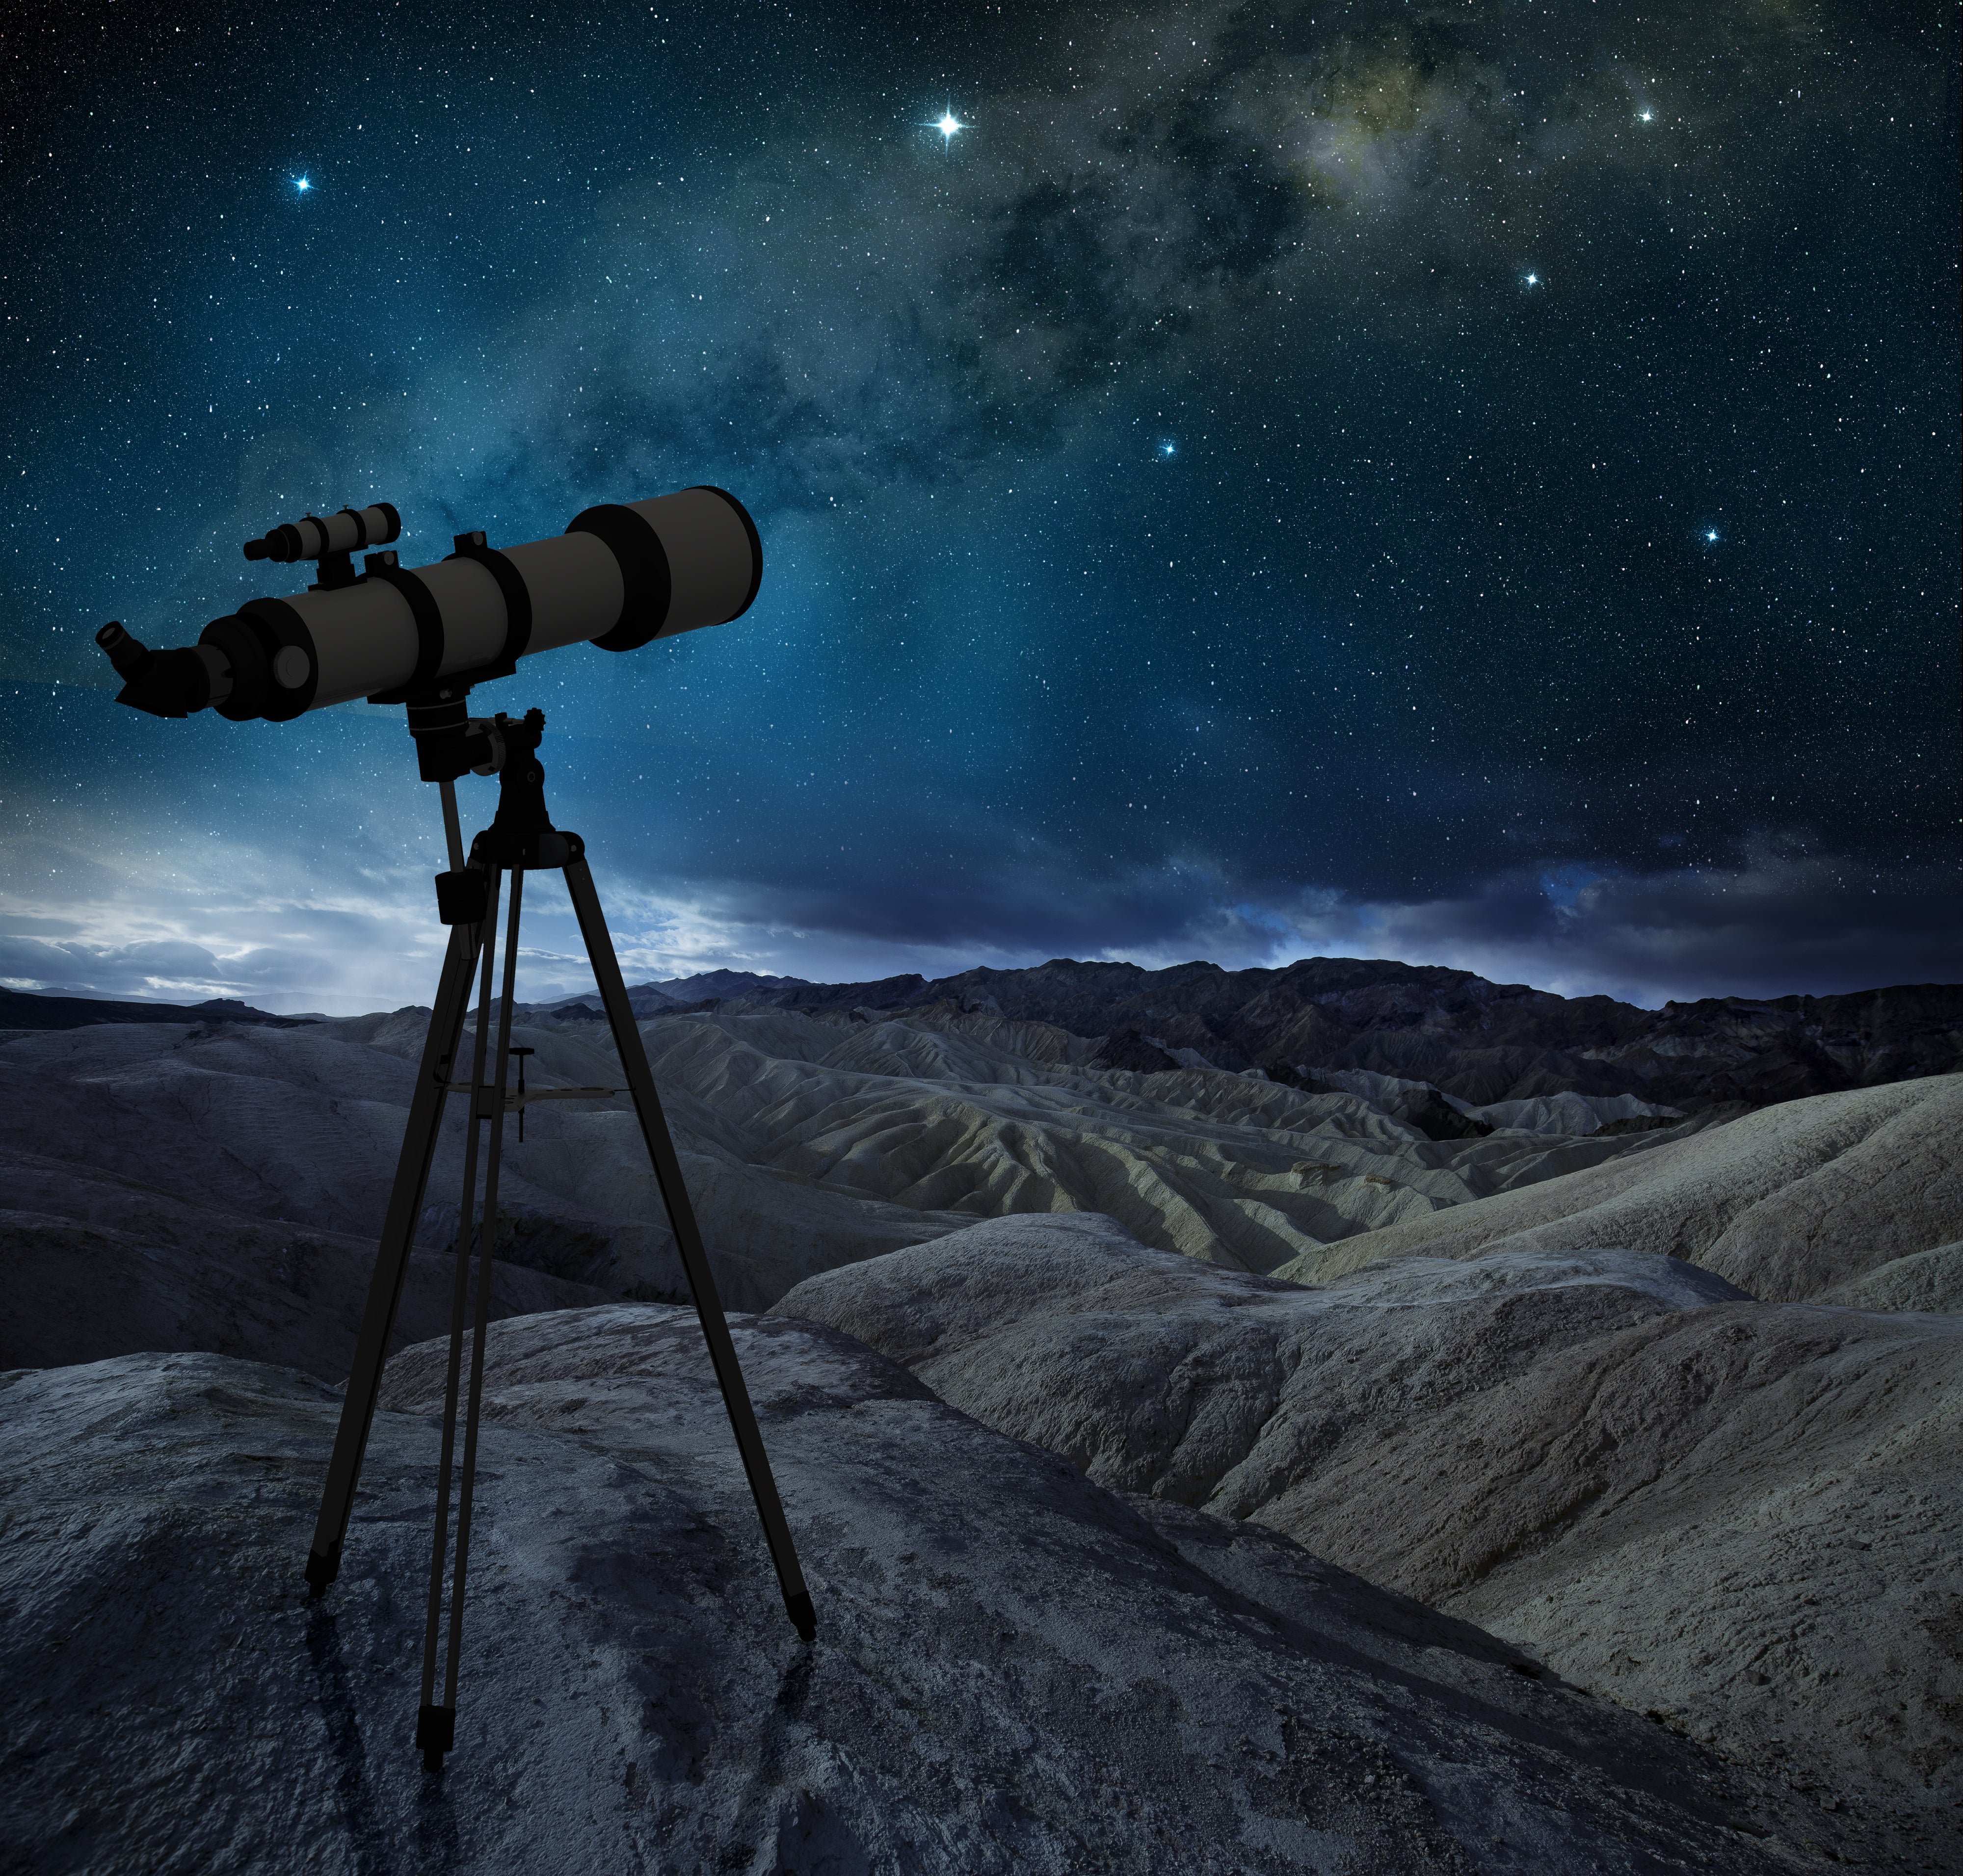
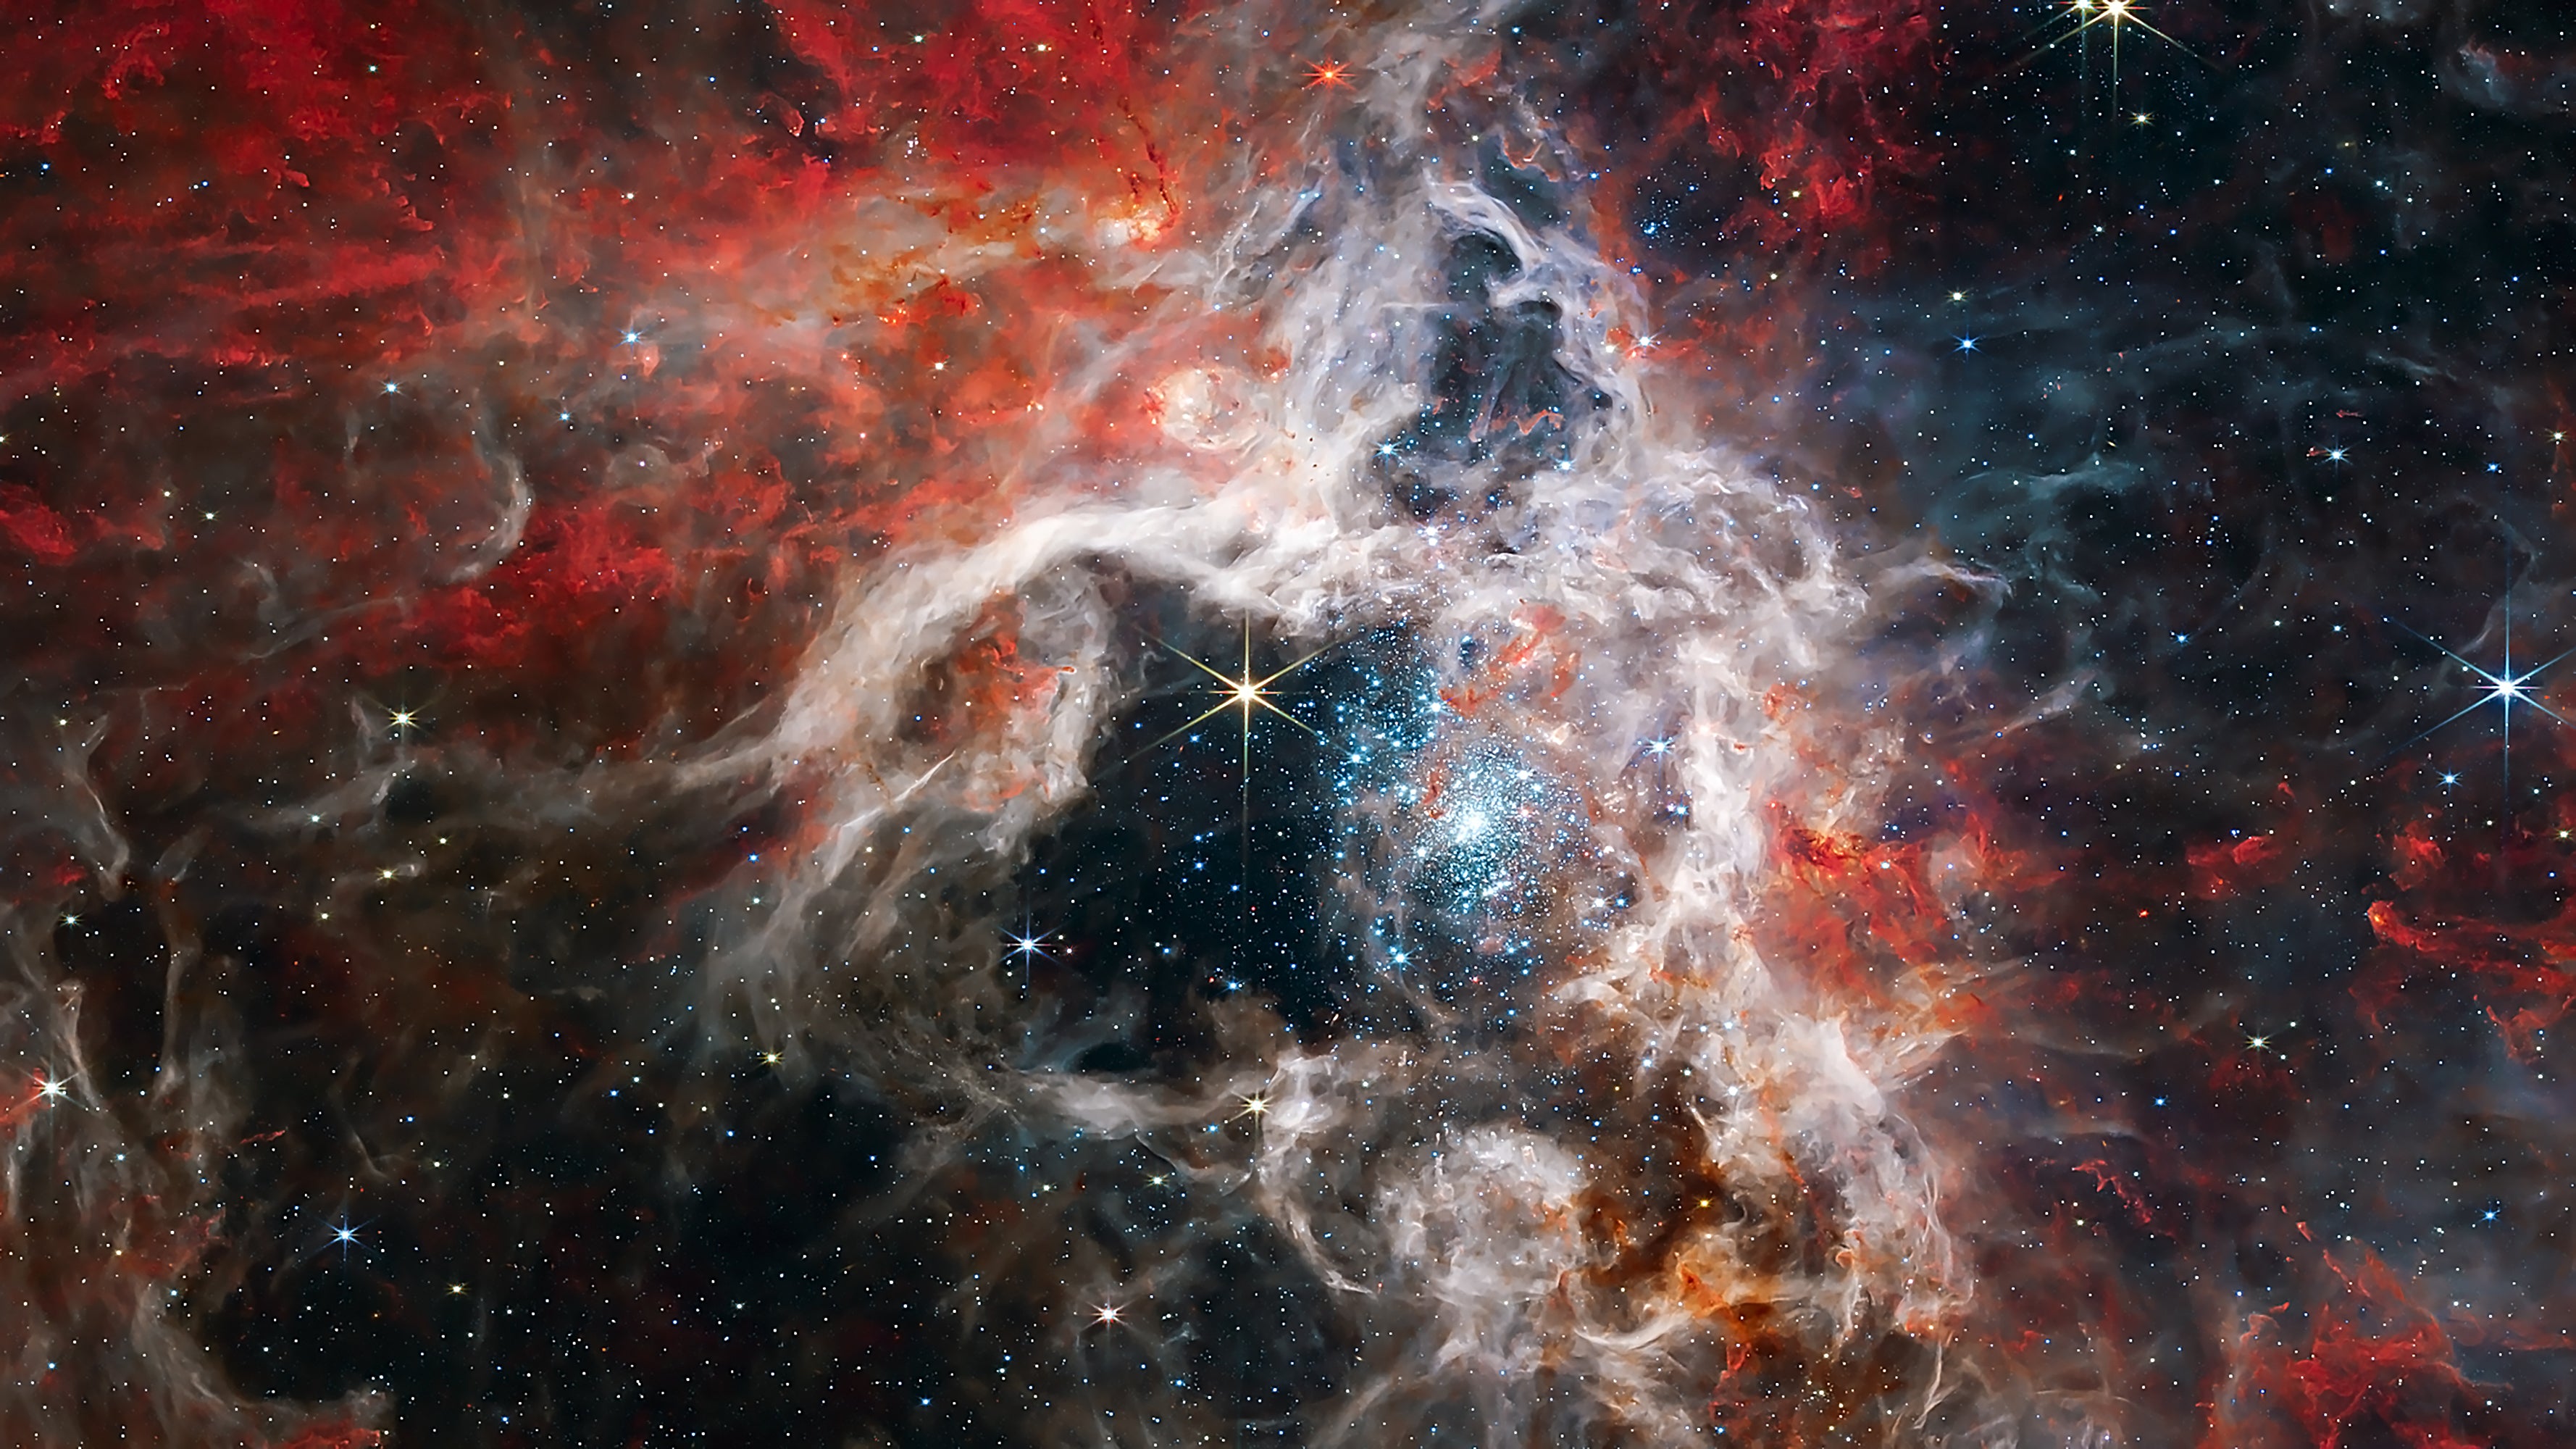
Astrophotography is a fascinating and rewarding aspect of astronomy, offering enthusiasts the chance to capture the beauty of the night sky in stunning detail. Whether you’re photographing the Moon, planets, star clusters, or distant galaxies, astrophotography allows you to preserve and share the wonders of the cosmos.
However, capturing these images requires a blend of technical skill, patience, and the right equipment. In this guide, we’ll take you through the basics of astrophotography, from choosing the right gear to mastering the techniques that will help you capture breathtaking images of the night sky.
Getting Started with Astrophotography
Before you can start capturing stunning images of the cosmos, it’s essential to understand the basics of astrophotography and the equipment you’ll need.
Choosing the Right Telescope: The type of telescope you use plays a significant role in the quality of your astrophotography. While it’s possible to capture images of the night sky with a simple camera, a telescope designed for astrophotography will yield far better results. Reflector telescopes, such as Newtonian or Dobsonian models, are popular choices for astrophotography because of their large apertures and excellent light-gathering capabilities. Refractor telescopes are also a great option, particularly for wide-field astrophotography, thanks to their high-quality optics and minimal maintenance requirements.
When choosing a telescope for astrophotography, consider factors such as aperture size, focal length, and mount type. A larger aperture allows more light to enter the telescope, resulting in brighter and more detailed images. The focal length determines the telescope’s magnification, with longer focal lengths providing more zoomed-in views of celestial objects. Additionally, a stable and precise mount is crucial for long-exposure photography, as it ensures that your telescope tracks objects accurately across the sky.
Camera Options for Astrophotography: Selecting the right camera is another critical aspect of astrophotography. There are several camera options available, each with its own advantages and disadvantages. The most common choices for astrophotography are DSLRs, mirrorless cameras, and dedicated astronomy cameras (such as CCD or CMOS cameras).
DSLRs and mirrorless cameras are popular among beginners because they are versatile, easy to use, and can be used for both daytime photography and astrophotography. These cameras typically have large sensors, which are capable of capturing detailed images of the night sky. When using a DSLR or mirrorless camera, it’s essential to choose a model with manual settings, as this allows you to control exposure, ISO, and focus.
Dedicated astronomy cameras are specifically designed for capturing images of celestial objects. These cameras often have advanced features, such as cooling systems to reduce noise during long exposures, and are capable of capturing deep-sky objects with incredible detail. However, they can be more expensive and may require additional accessories, such as filters and adapters.
Essential Accessories: In addition to a telescope and camera, several accessories are essential for successful astrophotography. A sturdy tripod or equatorial mount is crucial for keeping your camera and telescope steady during long exposures. An equatorial mount, in particular, is designed to track the rotation of the Earth, ensuring that your images remain sharp and free from star trails.
Other essential accessories include a remote shutter release or intervalometer, which allows you to take long exposures without touching the camera, and a dew shield to prevent moisture from forming on your telescope’s optics. Additionally, a set of filters, such as light pollution or narrowband filters, can help enhance the contrast and clarity of your images, especially when photographing faint deep-sky objects.
Techniques for Capturing Clear Images
With the right equipment in hand, it’s time to focus on the techniques that will help you capture stunning astrophotography images.
Focusing Your Telescope and: Achieving precise focus is one of the most important aspects of astrophotography. Even the slightest error in focus can result in blurry or soft images. To ensure sharp focus, start by using your telescope’s lowest magnification eyepiece or a live-view feature on your camera. Focus on a bright star or planet, adjusting the focus knob slowly until the object appears as sharp as possible.
Some astrophotographers use a focusing aid, such as a Bahtinov mask, which is placed over the front of the telescope. The mask creates diffraction spikes around a star, allowing you to achieve perfect focus by adjusting the focus knob until the spikes intersect symmetrically. Once you have achieved sharp focus, lock the focus in place to prevent any accidental changes during your imaging session.
Exposure Settings and ISO: Exposure settings play a crucial role in determining the quality of your astrophotography images. The exposure time, ISO setting, and aperture all affect the amount of light captured by your camera. For astrophotography, you’ll typically use long exposures to capture faint celestial objects. The exact exposure time will depend on the object you’re photographing and the level of light pollution in your area.
A good starting point for exposure settings is to use an exposure time of 20 to 30 seconds at an ISO of 800 to 1600. These settings work well for capturing stars, planets, and bright deep-sky objects. However, if you’re photographing very faint objects, such as distant galaxies or nebulae, you may need to increase the exposure time to several minutes and use a lower ISO to reduce noise.
It’s important to note that longer exposures can lead to star trails, where the stars appear as streaks of light instead of points. To avoid this, you’ll need to use an equatorial mount or a star tracker, which compensates for the Earth’s rotation and keeps your images sharp.
Dealing with Light Pollution: Light pollution is one of the biggest challenges faced by astrophotographers, especially those living in urban areas. It can wash out faint celestial objects and reduce the contrast in your images. Fortunately, there are several techniques you can use to minimize the effects of light pollution.
One of the most effective solutions is to use a light pollution filter. These filters are designed to block the wavelengths of light emitted by streetlights and other artificial sources, allowing only the natural light from stars and other celestial objects to pass through. Another option is to travel to a dark sky location, away from city lights, where light pollution is minimal.
Additionally, you can use post-processing techniques to reduce the impact of light pollution in your images. By adjusting the levels, contrast, and curves in your image editing software, you can enhance the visibility of faint objects and bring out more detail in your images.
Post-Processing Your Images
Capturing the image is only the first step in astrophotography. Post-processing is where you bring out the true beauty of the cosmos by enhancing and refining your images.
Stacking Images for Noise Reduction: One of the most effective techniques in astrophotography is image stacking. Stacking involves taking multiple exposures of the same object and combining them to create a single, high-quality image. This process helps reduce noise, increase detail, and enhance the overall quality of the image.
To stack images, you’ll need to capture a series of exposures, known as “light frames,” of the same object. The more light frames you capture, the better the final image will be. In addition to light frames, you should also capture “dark frames” (images taken with the lens cap on) and “bias frames” (images taken with the shortest possible exposure) to correct for sensor noise and other imperfections.
Once you have your frames, you can use image stacking software, such as DeepSkyStacker or AstroPixelProcessor, to combine the images. The software aligns the images and averages out the noise, resulting in a final image that is much cleaner and more detailed than a single exposure.
Adjusting Levels and Curves: After stacking your images, the next step is to fine-tune the brightness, contrast, and color balance. Adjusting the levels and curves in your image editing software allows you to bring out the details in your images and enhance the visibility of faint objects.
Start by adjusting the levels to set the black point (the darkest part of the image) and the white point (the brightest part of the image). This helps improve the contrast and makes the image appear more dynamic. Next, use the curves tool to adjust the brightness and contrast of specific parts of the image. For example, you can brighten the midtones to bring out details in nebulae or darken the shadows to reduce noise in the background.
Enhancing Colors: Color is an important aspect of astrophotography, as it adds depth and richness to your images. When processing your images, you can enhance the natural colors of celestial objects by adjusting the saturation and color balance.
For example, increasing the saturation can bring out the vibrant reds and blues in nebulae, while adjusting the color balance can correct any color casts caused by light pollution or the camera’s sensor. Be careful not to overdo it, though—subtle adjustments often yield the most natural-looking results.
Conclusion
Astrophotography is a challenging but incredibly rewarding pursuit that allows you to capture the beauty of the cosmos in stunning detail. By choosing the right equipment, mastering essential techniques, and learning how to process your images, you can create breathtaking photographs that showcase the wonders of the night sky. Whether you’re a beginner or an experienced astronomer, the journey of astrophotography is one filled with endless possibilities and discoveries. So, set up your telescope, point your camera to the stars, and start capturing the universe.


Share:
Top 5 Telescopes for Beginners: A Comprehensive Guide to Stargazing
Top 5 Telescopes for Beginners: A Comprehensive Guide to Stargazing